Sweet goodness. It’s a month of meat.
This go ‘round, we’re taking our cookbook Out of Our Kitchens literally. Fire up the charcoal. We’re facing our fears. Time to chain up, ladies and gentlemen, because we’re grillin’.
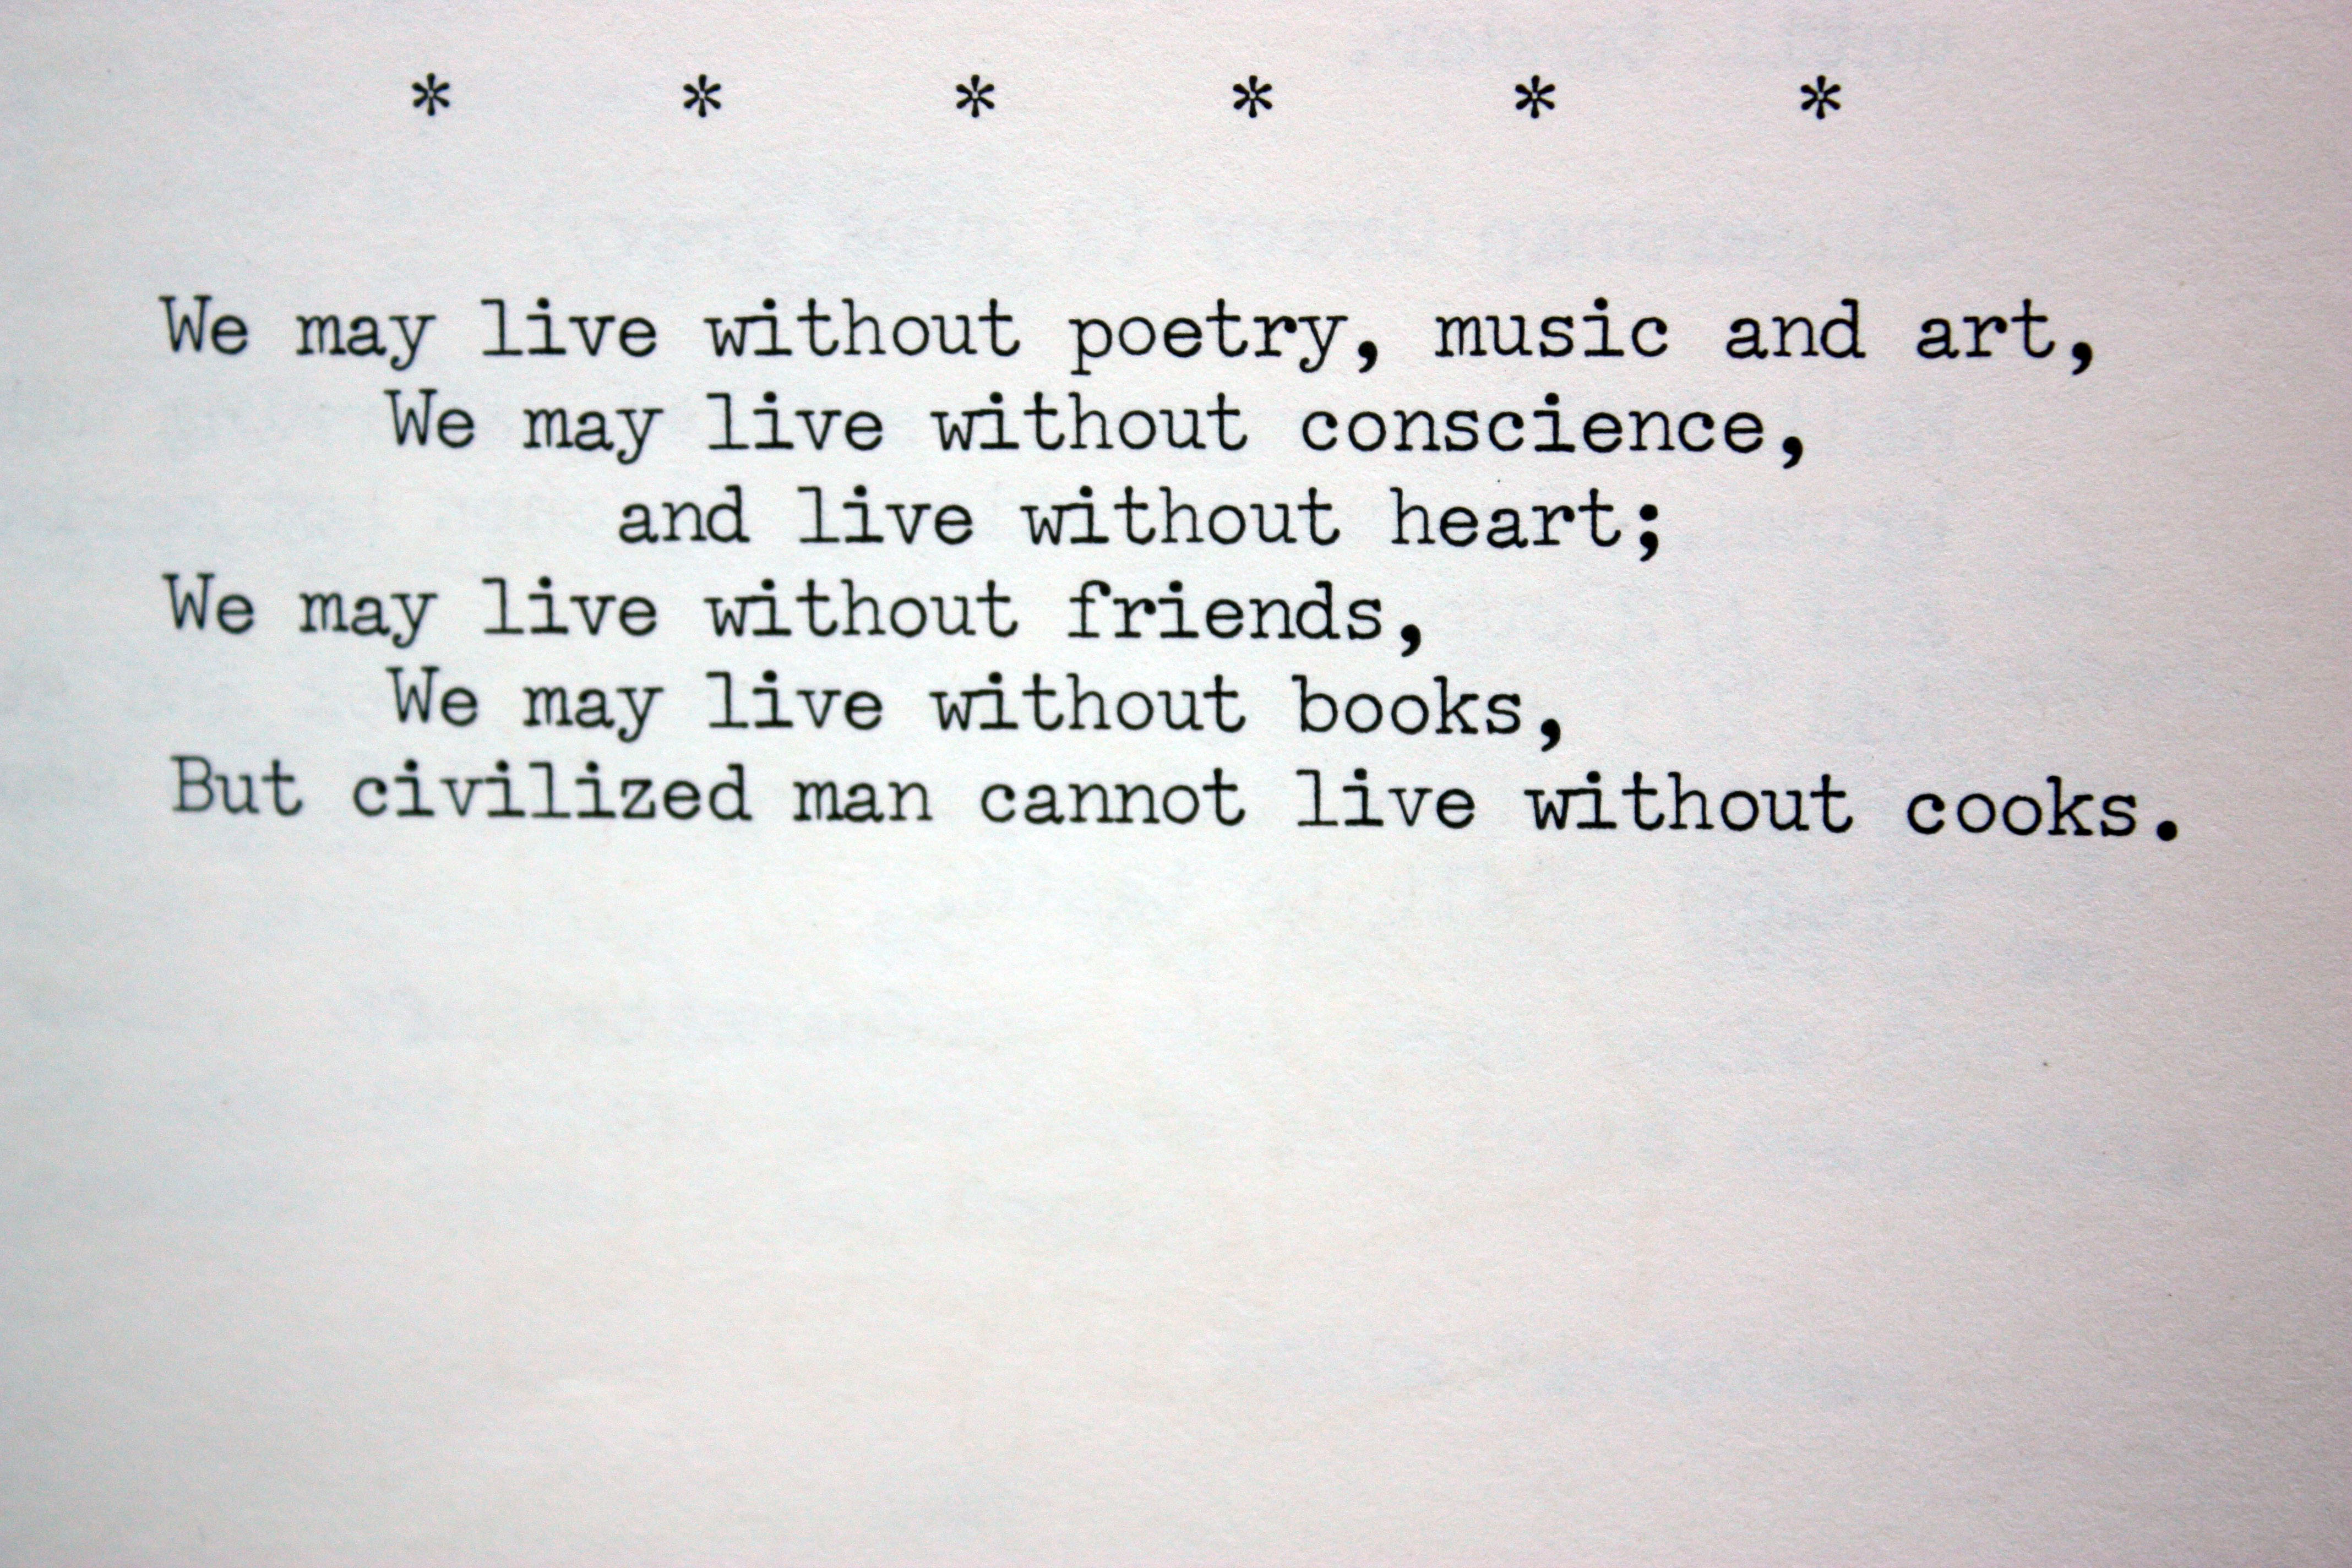
And because we’ve got the meat munchies this month, we want to take the opportunity to touch on the holy trinity of grilling: chicken, ribs, and pork belly. To ensure we’re steadfast in our carnivorous crusade, let’s start with the ABCs of barbecue — how to make the perfect BBQ sauce and cook us one hell of a bird.
Barbecued Chicken
-Original recipe by Mary Koehler of Fair Haven, N.J. (A fine American, I’m sure.)
3/4 cup water
3/4 cup brown sugar
1/4 cup apple cider vinegar (Because that’s how we roll, but I’m sure white vinegar works, too.)
1 cup catsup (That’s right! This recipe actually called for “catsup!” We made two different batches of this: one with the Plumb Catsup we made back in June, and the other with store-bought tomato ketchup. The sauce made with Plumb Catsup was INFINITELY BETTER. Treat yo’self.)
3/4 cup Worcestershire sauce (however you say it)
1/4 cup lemon juice
4 tsp. dry mustard
4 tsp. paprika
4 tsp. salt
2 tsp. chili powder
2 tsp. cayenne pepper

This is how they do it:
"Mix together. Salt cut up chicken to taste. Place in casserole and spoon the barbecue sauce onto the chicken being careful to cover each piece. Cover and bake at 500 degrees for 15 minutes, then reduce heat to 375 degrees and bake for 1 hour and 45 minutes. Remove the cover for the last 20 minutes and baste several times."
This is how we do it (for your grilling pleasure):
FOR THE SAUCE: Combine all of the barbecue sauce ingredients in a bowl, and whisk together. Pour liquid into a saucepan and bring to a boil over high heat on a stovetop. Once mixture reaches a boil, turn down to simmer (something like medium-low heat) and stir frequently for the next hour. DON’T SKIMP ON THE STIRRING. This stuff will burn and stick to the pan, so be attentive. If the sauce is still watery after the hour is up, let it continue to simmer for an extra 10 or so minutes — show it some love. Once the sauce has thickened and is still piping hot, pour into sterilized jars and seal lids. (The above ingredients yield a little more than a pint of sauce.) Store in dark place — think pantry or cupboard, rather than cavern or well.
THE NIGHT/EARLY MORNING BEFORE: Brine your bird. Thanksgiving turkeys aren’t the only fowl that like a good soak. You can’t swing a dead cat without hitting a brining recipe online (there’s a ton of them), but we wanted to keep it simple. Take 6 cups lukewarm water and whisk in a heaping 2/3 cup of salt and a heaping 1/3 cup of sugar until they dissolve. To keep things “NEAT” and “TIDY” (the way my grandmother liked it) put your chicken parts (we bought a 4-pound bird from a local meat market, had them break it down) into a gallon storage bag, and then put the bag into a large plastic bowl so nothing will tip over. (Smart, right?) Next, pour the brine into the bag and remove as much air as you can, seal it, and give everything a generous shake. (Feel free to do this in time with the melody of Billy Joel’s “We Didn’t Start the Fire.”) Let it sit in the fridge for 6-8 hours.

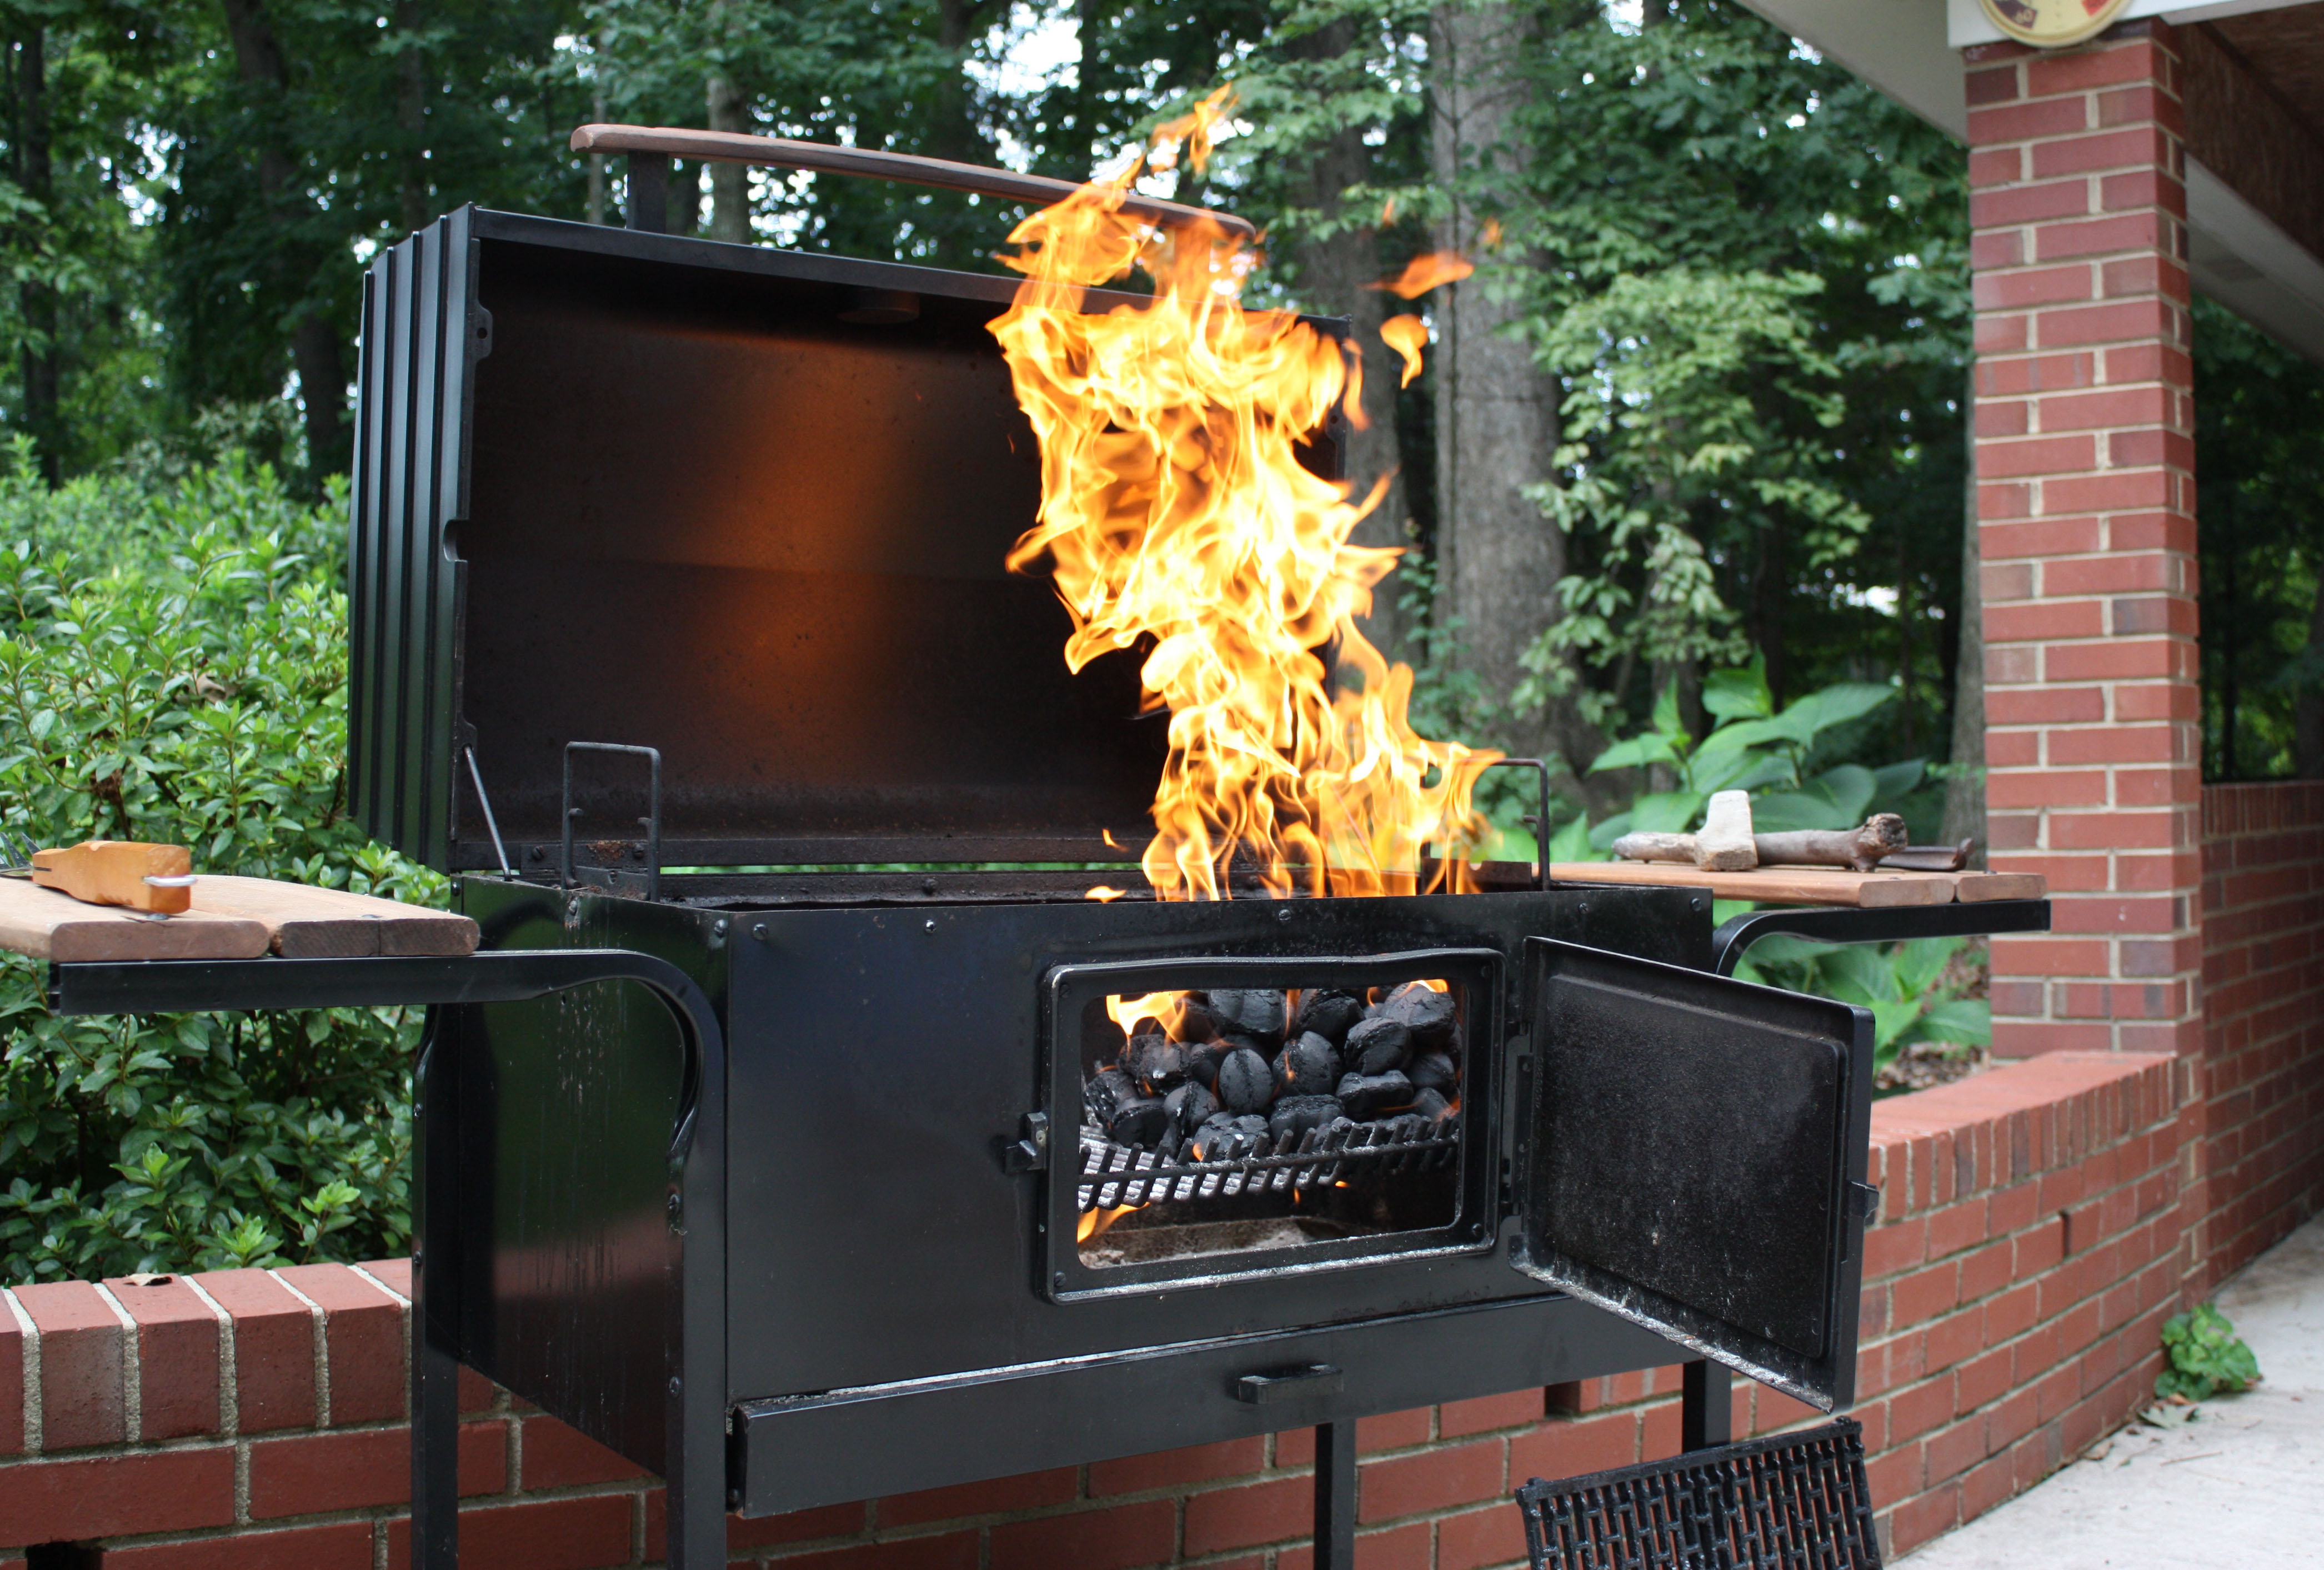
THE DAY OF: After the chicken has brined overnight, pour out liquid and pat it dry before putting it on the grill. Rub the chicken pieces liberally with the barbecue sauce you made earlier. I am broke so I don’t have a charcoal chimney (one of those things you heat up the coals in), but if you got one, light it up about three-quarters full. When the coals are heated through and gray, pile them on one side of the grill, keeping the other side empty. (Also, if you’re a fancy type and have wood chips, this would be a heck of a time to use them. Feel free to SMOKE THAT CHICKEN UP.) Make sure you oil your grates, rather than using a cooking spray; take pride in what you are using around your food — a halved onion on the end of a grilling fork dipped in olive oil is a great way to grease up your grill. Place chicken, skin side down, on the cool side of the grill and cover. Cook until chicken begins to brown (depending on the temperature of the grill this can take up to 30 or so minutes); check on the chicken mid-way through to make sure it’s not browning too fast.
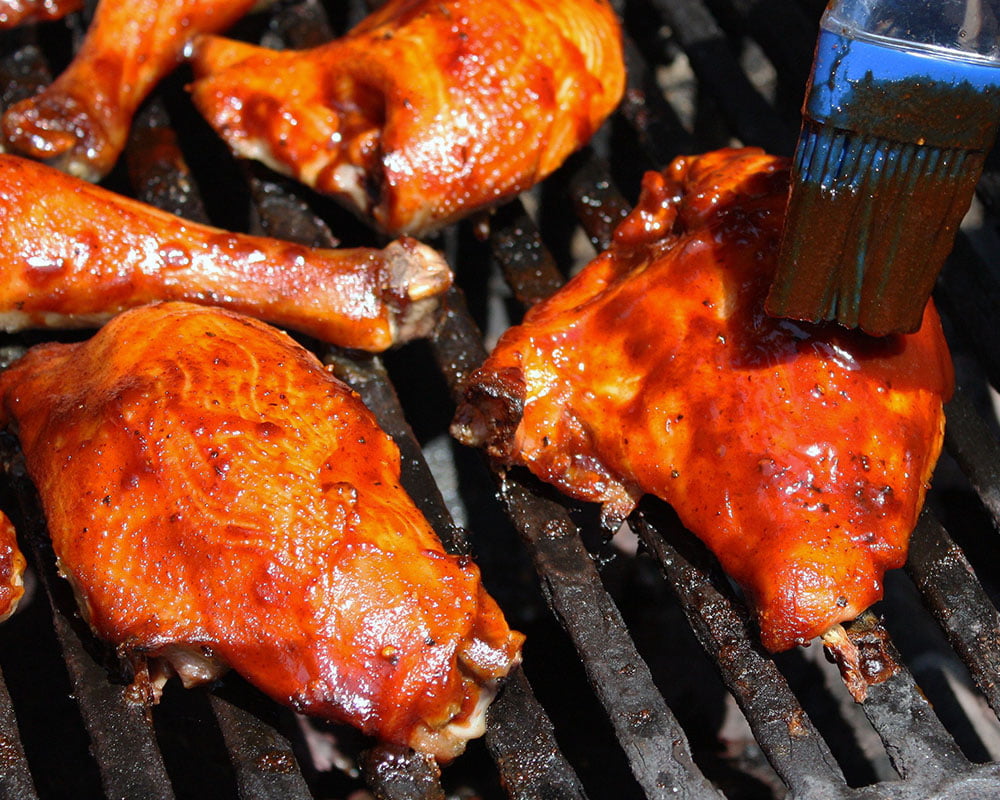
Next, move the chicken near to, but not over, the charcoal. (If your coals look like they are dying, you might need to add a handful to reinvigorate the pile.) Begin flipping over the chicken pieces and, shoot, since you’ve made it this far, start finessing that bird with your bangin’ homemade barbeque sauce every five minutes or so until sticky. Do this while you liberally sip a beer of your choice — 10-15 minutes. (If you’re like me, it may take two beers.) This is hard work. Make sure you enjoy the little things.

Once you get yourself that sticky chicken, move the pieces over top of the coals and continue to brush your bird until the sauce becomes crusty and caramelized. (The internal temperature of a chicken breast should be around 160-165 degrees; legs, thighs, and drumsticks around 175 degrees.) Use a meat thermometer to check on the done-ness of the chicken. Take the chicken off the grill when it reaches temperature. Serve extra barbecue sauce on the side to show your loved ones you care.
WET NAPS.