My Mother’s Strawberry Glacé Pie

Summer is my least favorite season. This may stem from growing up near Amarillo, Texas, where the months from June to August perpetually feel like a hair dryer — windy and dry. As a kid, water needed to be involved to tempt me outside. As an adult, I am learning to like it more. Moving to Tennessee has helped, but heat is still heat. I hate being hot, and I hate how my hair grows three times its size in frizz.

But there is one thing thing about Summer I have loved ever since I can remember, and that is the produce. I grew up a few miles outside of the city on my grandparent’s land. Their house was just down the road from ours with fields of either corn or wheat in between. Each year, my grandparents would bring over whatever they grew in their garden: typically squash, zucchini, tomatoes, and corn (which we shucked ourselves). Summer brought our family a bounty of beauty to eat.

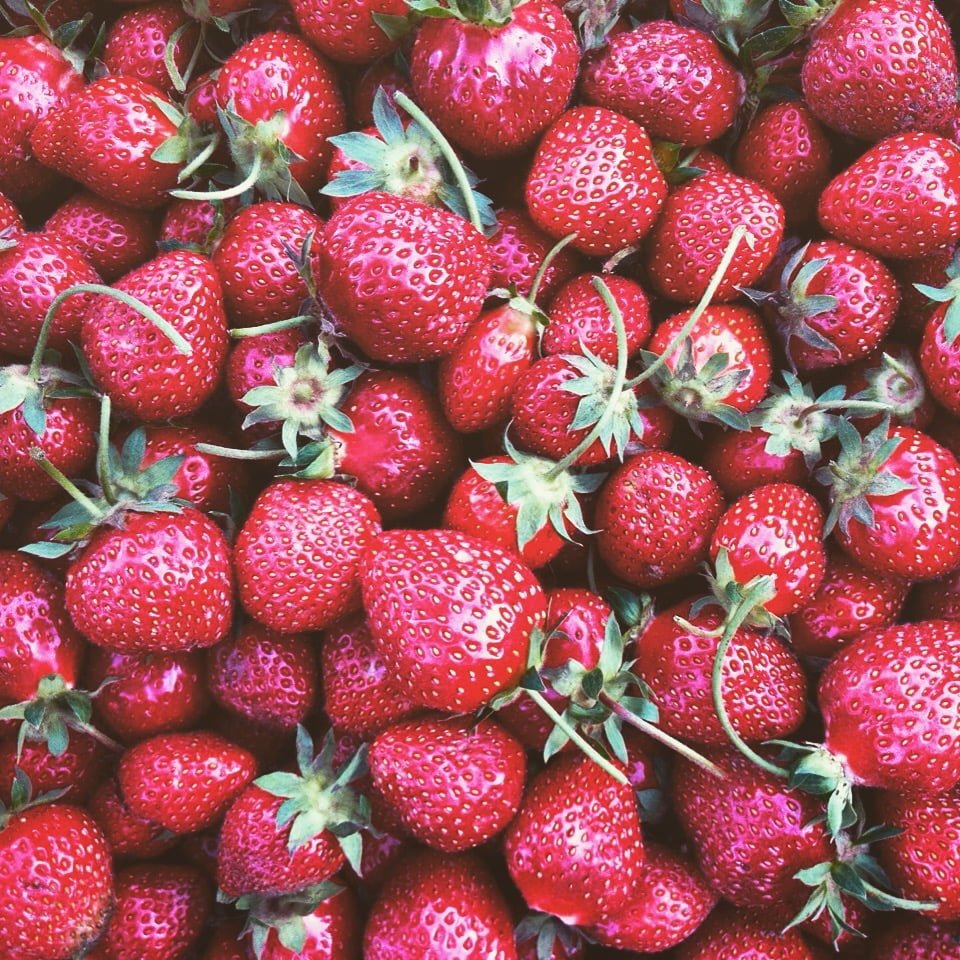
It still does. There are just so many options! Peaches, blueberries, strawberries, and watermelon. Tomatoes taste good on their own or with a pinch of salt and sliced basil. I tend to eat simpler because the food shines all on its own.

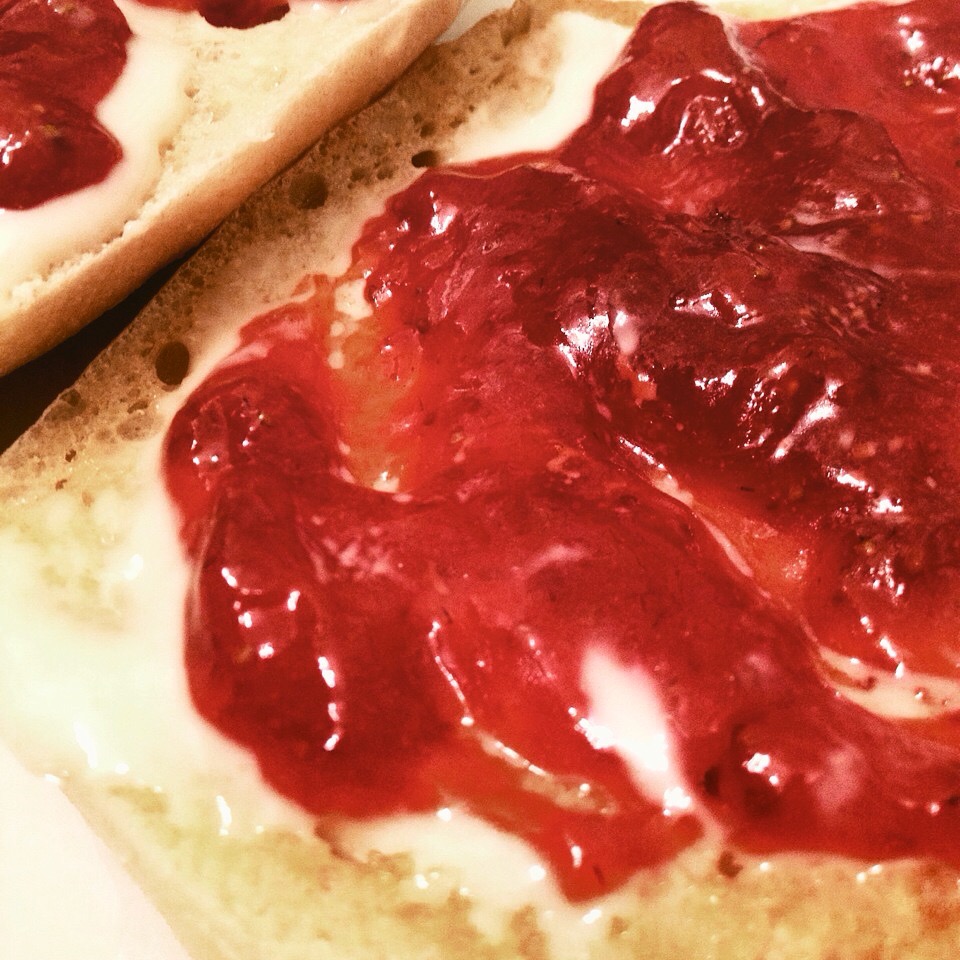
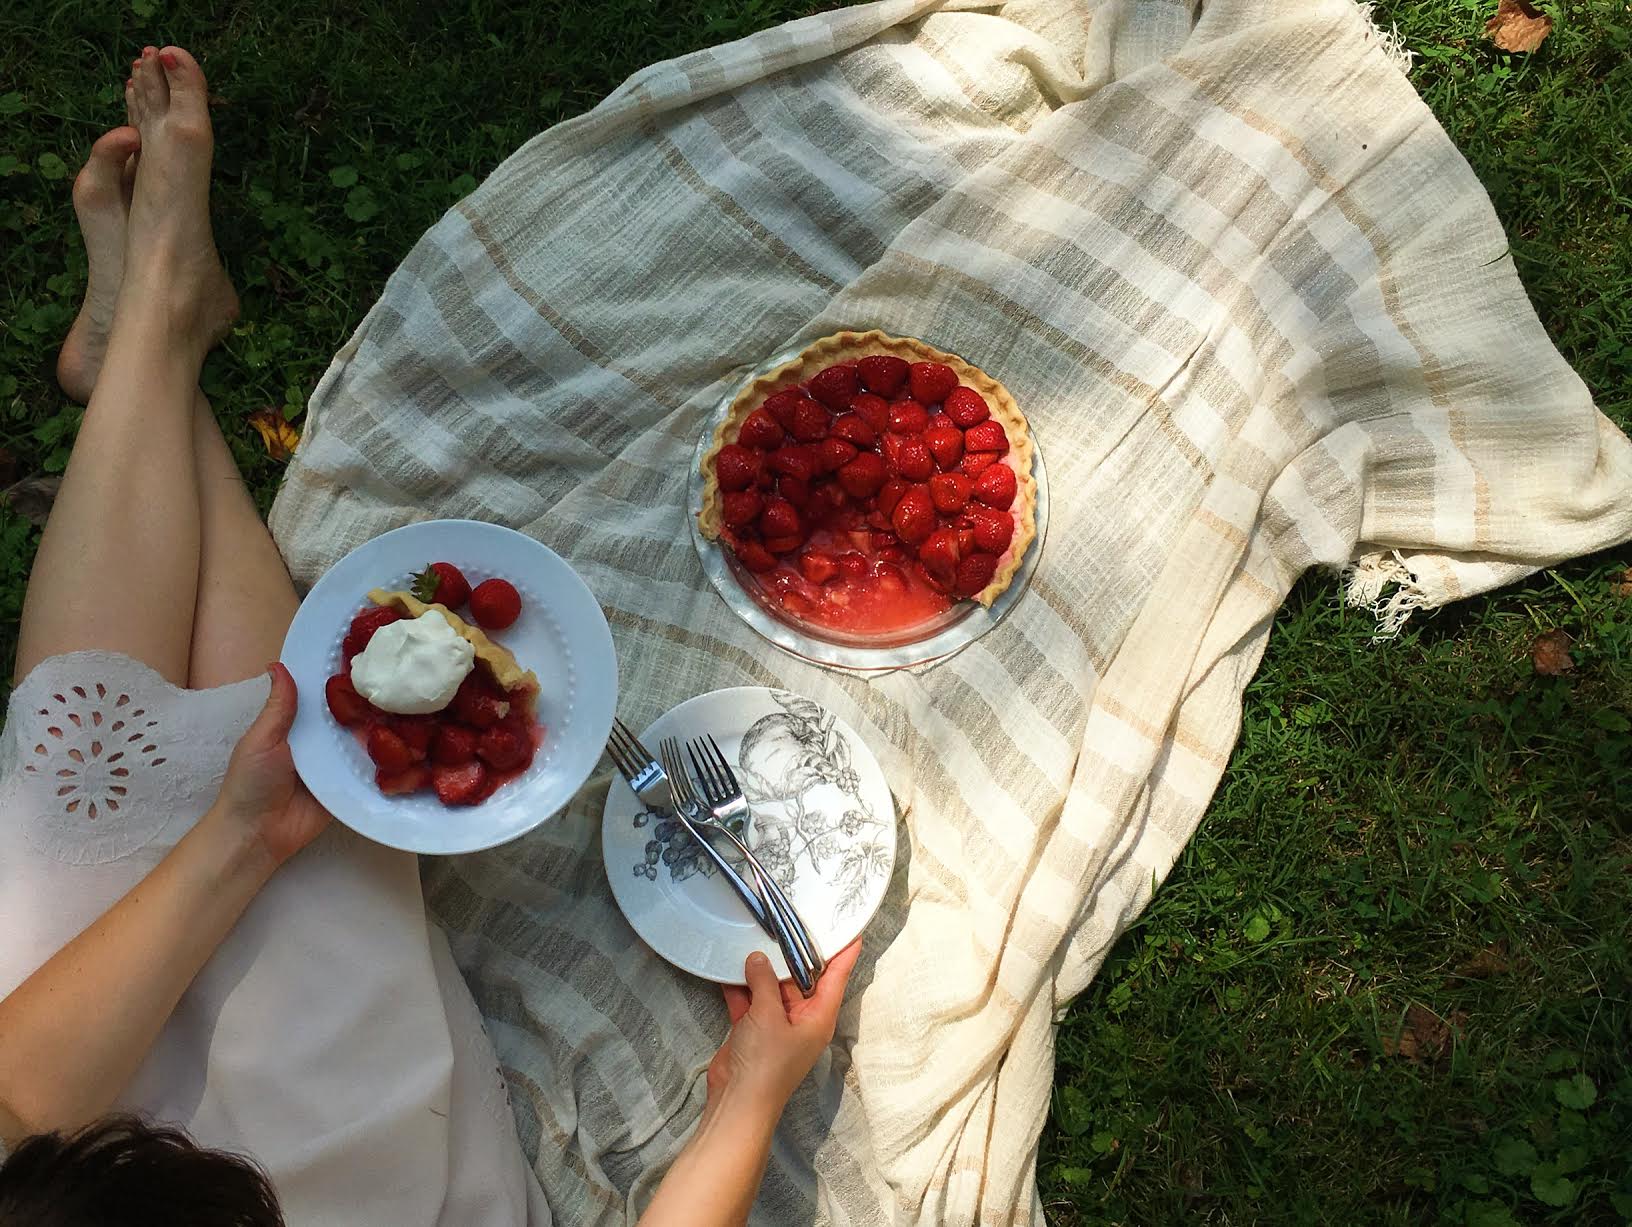
This strawberry pie is one my mom used to make when strawberries were at their peak. It is as lovely to look at as it is tasty to eat. A slice of this with a huge spoonful of whipped cream is bound to distract you from the heat.

And, of course, Patty Griffin’s 1000 Kisses is the perfect accompaniment to baking and eating this delicious dessert.

Pie Filling Ingredients
9-10-inch baked pastry shell (See below for recipe.)
5 pints strawberries, washed and trimmed
2 cups sugar
6 tablespoons cornstarch
1 cup water
2 tablespoon lemon juice

Directions
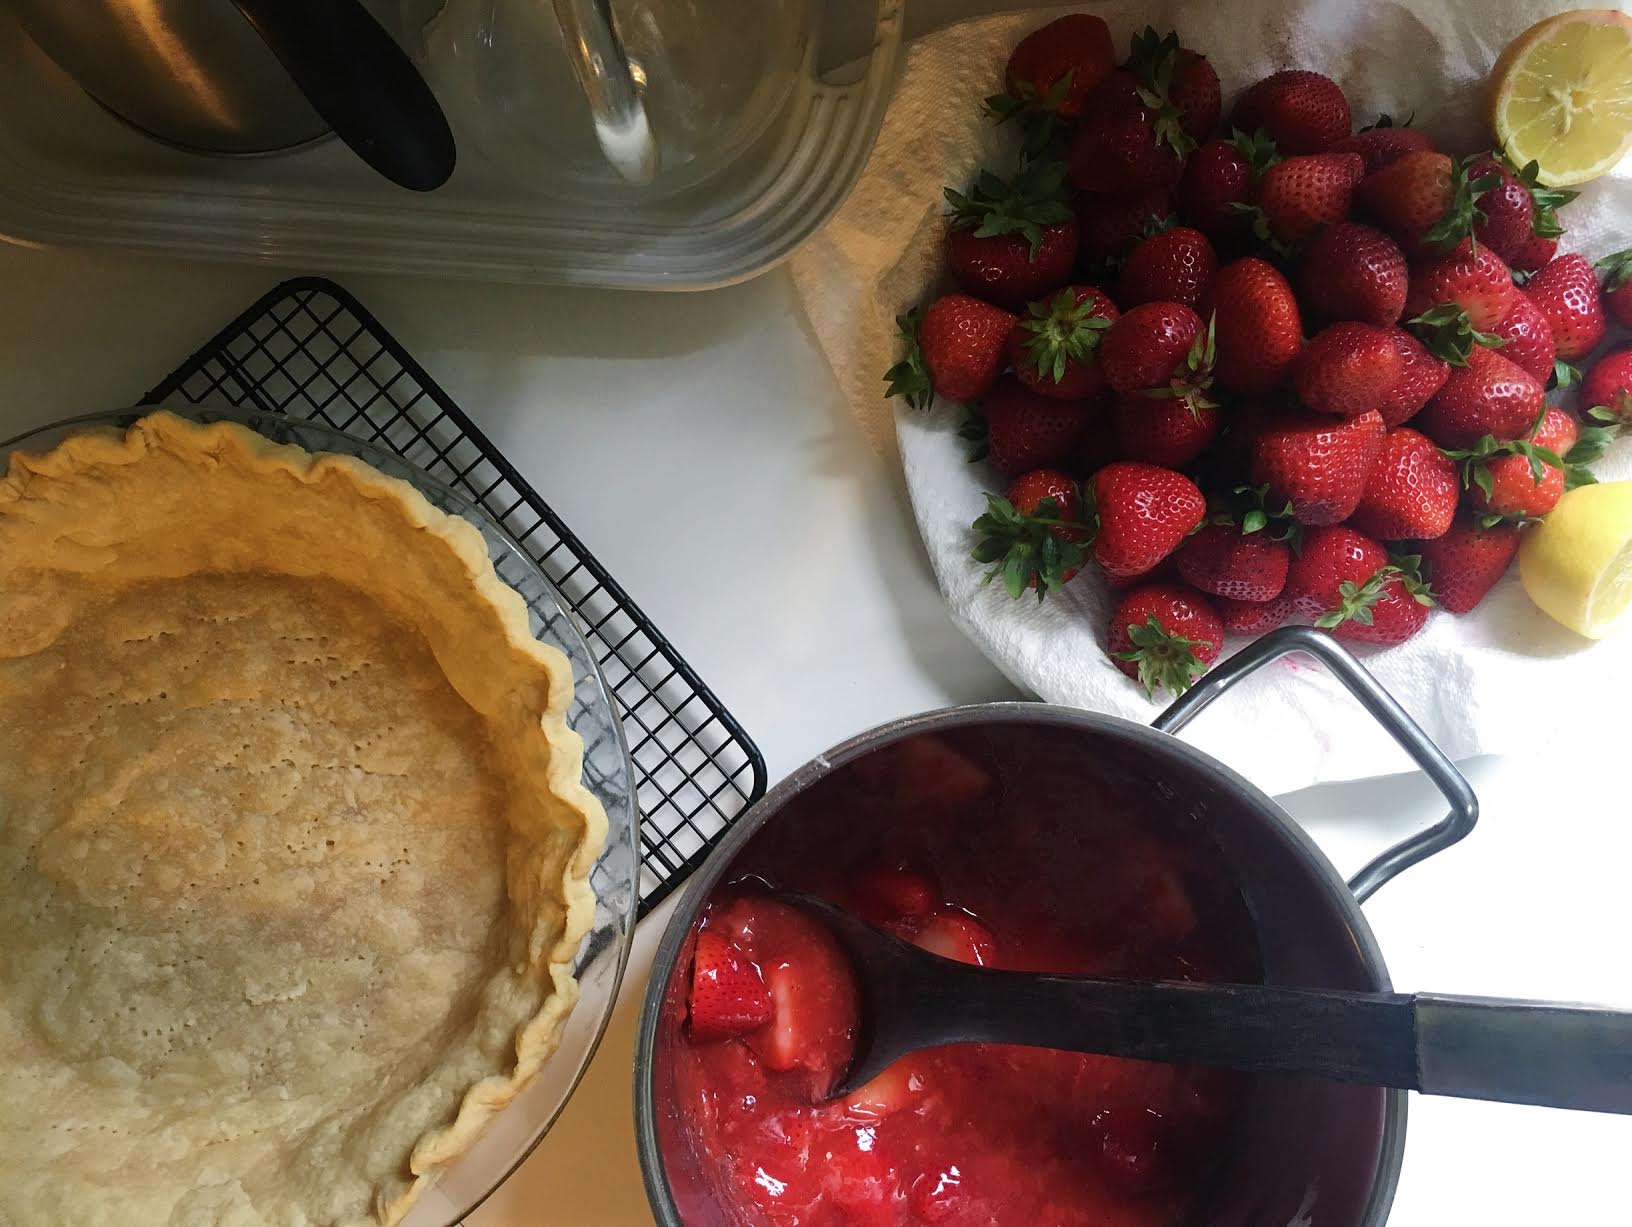
Crush enough strawberries to make 2 cups. In saucepan, combine sugar, cornstarch, crushed strawberries, and water. Cook over medium heat until mixture boils and thickens, stirring constantly. Blend in lemon juice. Cool. Add the remaining whole or sliced strawberries to glacé mixture, tossing gently. Arrange in cooled pie shell. You may have some leftover filling. Chill for an hour or when it appears the pie is set. Serve with fresh whipped cream.

Pie Shell Ingredients (Courtesy of my best girl Miranda. She’s a baking queen!)
2 2/3 cups all-purpose flour
1 teaspoon salt
1/2 cup shortening
1/2 cup cold butter, cut into pieces
7 to 8 tablespoons cold water or vodka. (That’s right, vodka. It makes it especially flaky. Sometimes I do half water/half vodka.)

Directions
Mix flour and salt in medium bowl. Cut in shortening and butter, using pastry blender (or pulling 2 table knives through ingredients in opposite directions), until particles are size of small peas. Sprinkle with cold water (or vodka), 1 tablespoon at a time, tossing with fork until all flour is moistened and pastry almost leaves side of bowl (1 to 2 teaspoons more water can be added if necessary). Gather pastry into a ball. Divide in half and shape into 2 flattened rounds on lightly floured surface. Wrap flattened rounds of pastry in plastic wrap and refrigerate about 45 minutes or until dough is firm and cold, yet pliable. If refrigerated longer, let pastry soften slightly before rolling. Roll one round (save the other round for later!) on lightly floured surface, using floured rolling pin, into circle 2 inches larger than upside-down 9- or 10-inch glass pie plate. Fold pastry into fourths; place in pie plate. Unfold and ease into greased plate, pressing firmly against bottom and side.

Bake at 450 degrees for 10-15 minutes, depending on your oven. It’s ready when golden brown. Cool on rack.


For another great dessert, try our Chocolate Pudding Cake with Caramel Sauce recipe.


When singer/songwriter Natalie Schlabs isn't in the studio or on the stage, she's quite often in the kitchen. Look for a new record coming soon.

Strawberry Fields Forever

When I was a student, I lived in Liverpool, England. Decades after their break-up, the Beatles’ presence could still be felt everywhere. I even spent a year with my bedroom window overlooking Penny Lane. My Brother moved there two years before me and once gave me a tour around all the famous Beatles locations, including "Strawberry Fields."

This season, where strawberries are king, always throws me back to those days.

Strawberries are one of the easiest foods to grow in your garden and, if you haven’t already got a patch, I hope this post will get you thinking about starting one. Although the fruiting season is now, there is still plenty of time to get plants in the ground which will fruit next year. I planted my first patch in August after a friend gave me some runners — the shoots the parent plant puts out.

Here are a few strawberry basics:

1. There are two basic varieties of strawberry: one which will give you all it’s fruit over about three weeks (great for jam making), and one called an ever-bearer, which will give smaller amounts of fruit for longer (better if you want them to eat straight from the garden in smaller quantities). I have patches of both.

2. A strawberry plant will last about four years. Years two and three will give you the most fruit, so it’s a good idea to try to keep plants of the same age together so you know when to replace the old with new. Since they produce a lot of runners, you’ll be able to keep making new rows with enough to give away to friends for them to start their own beds.

3. When the fruits are beginning to turn red, cover your patch with bird netting; otherwise, you’ll regret it! And, if you are still seeing little holes in your berries, it’s probably slugs, so leave some beer traps out overnight.

Even if you don’t grow your own, or don’t have enough from your garden, it’s a great time to support a local grower and have a go at making your own jam. I made my first batch last year and I don’t mind telling you that I thought it would be a lot more work than it actually was, especially since I was preserving in jars, as opposed to keeping it in the freezer. But, after a few more tweaks to the recipe this year, I am so happy with this jam that I have no intention of ever changing it. Making strawberry jam has now officially been crossed off my gardening learn-how-to-do list. And even better — there is no refined sugar in it — only honey.

STRAWBERRY JAM WITH HONEY

INGREDIENTS

For approximately every 8 oz jar of jam you will use:
1 generous cup chopped strawberries
1 Tbsp pectin (I used Ball Real Fruit Classic Pectin)
1/4 cup honey
1/3 Tbsp lemon juice

You will also need 8 oz mason jars and it’s a good idea to buy a jam canning utensil kit so you don’t burn yourself. Ball makes a great one for under $10 (which is sold at Target, Walmart, Amazon, and Bed, Bath & Beyond). If you grow your own strawberries, each jar will cost a total of about $1.17 to make.

DIRECTIONS

1. In a large bowl, mash up the strawberries with a potato masher. A couple of minutes mashing should do it. You don’t want to lose too much texture. I make eight jars at a time, so I’m working with 8 cups.

2. Add 1 Tbsp of pectin per cup of strawberries and mix in.

3. In a large pan or pot, bring the berries and pectin to a boil — boil for about a minute, stirring occasionally.

4. Take the pan off the heat. Add the honey and lemon juice. Mix well.

5. Put back on the heat and boil for about 10 minutes, again, stirring occasionally. You’ll see foam starting to form around the edge of your pan. Try to skim off as much of that as you can.

6. After the jam has boiled, take it off the heat and leave to cool for about 10 minutes, stirring occasionally to aid the cooling process. Now it’s ready to be ladled into your jars.

Just an extra note here: I made my first batch without leaving it to cool slightly before canning and the fruit rose to the top. As the finished jars were cooling, I shook them occasionally to help it all to settle, but cooling for a few minutes first seemed to help.

PREPARING THE JARS

Submerge your jars and lids in boiling water and leave them to boil for 10 minutes. I use an old stock pot for this which will take eight jars at a time. Lift them out onto a towel until you are ready to fill them with your jam. They should air dry very quickly, but try not to let the jars cool completely before filling. They may crack when you plunge them back into the boiling water.

Once the jam is in, wipe away any mess around the top of the jars with a paper towel and put the lids on. Then, put them back into the pot and boil for another 10 mins. Lift them out again and place them back on the towel to cool completely.

You now have jam that will keep until next strawberry season! And, once you’ve tasted your home-made version, anything from the store is not going to come close.